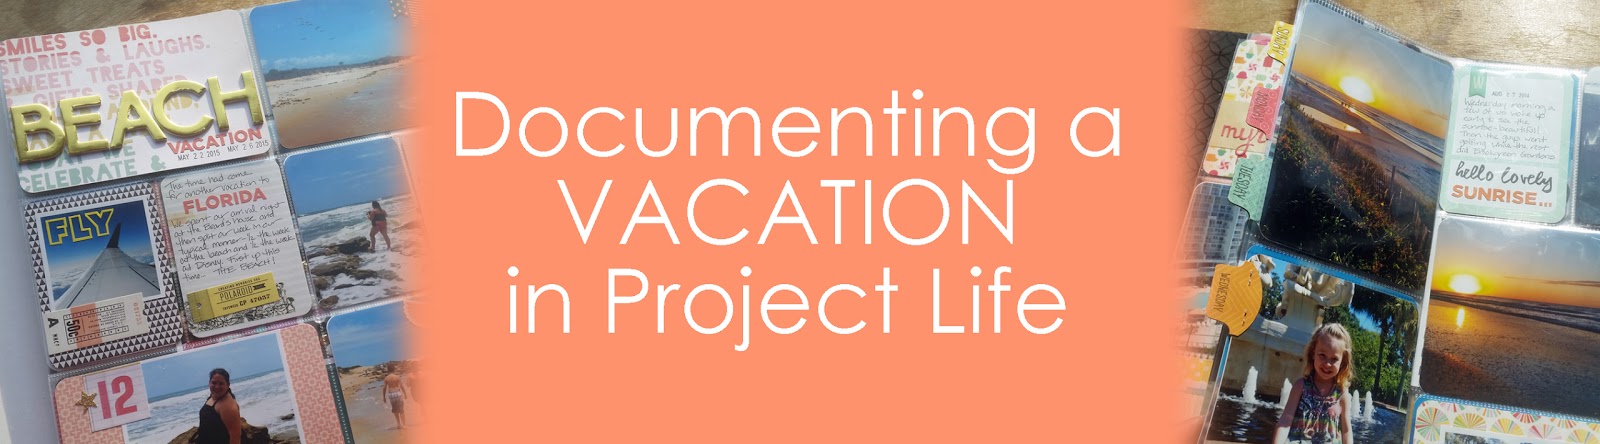
One of the questions I see asked frequently is how to incorporate vacations (or big events) into Project Life. I view my Project Life albums as a summary of our lives. It’s the big things (like birthdays and holidays), and the little things (like what we had for dinner or what we watch on TV), and everything in-between. By that theory, I would never want to OMIT a family vacation from our Project Life albums. But… I certainly can’t include EVERY photo I take! So, I include a summary- just enough to give a good picture of our trip. Sometimes I’ll also do a full separate album where I can elaborate on each thing we did, or a few 12x12 layouts to highlight something, but more often than not, my summary in Project Life is just enough.

So here’s how I do it…
Step 1- PLAN
I often start any Project Life layout with a rough plan, so I don’t waste time and money editing and printing photos I won’t use. This is especially the case with a vacation. I could never edit every photo I took- Ain’t nobody got time for that! So I grab some graph paper and sketch out a plan. I use the left side of my standard Design A as the START of my vacation, and the right side as the END of my vacation, and anything I need to add in the middle (an “insert”) is narrower than 12”, so that left and right side act as “bookends” to identify where the vacation starts and stops. With that theory, I plan out my pages, usually 1 page, or a pair of pages, PER DAY. Sorting by day helps keep things organized. We often travel to Disney, and on the occasions we “park hop” within a single day, I might assign each PARK its own spread, as opposed to each DAY.

Step 2- SELECT PHOTOS, EDIT AND PRINT
As I said, I only edit and print photos I intend to use (with a few extras when I can’t make up my mind). Depending on the page protector I want to use, I’ll pick the handful of photos I want to use to “summarize” each day. Usually between 5 and 10 photos. I scribble a short description of the photo in my plan, so I know what I intend to go where. Keeping photos organized by year, month & day really helps this process go smoothly as I’m only sorting though 1 day’s worth of photos at a time. If need be, I break a day up into small portions, like day and evening.

Step 3- INSERT PHOTOS
Once my photos are printed and trimmed, I insert into pockets according to my plan.
Step 4- THE FUN PART
Next comes the fun part- adding patterned paper, journal cards and embellishments. I try to use 1 collection as a “base” for the full vacation, so it feels like 1 cohesive event. Occasionally I’ll give each day its own accent color, to help separate one day from the next.
Using our beach vacation from last year as an example, here's how the pages looked.
The full left page (Friday arrival and Saturday):

Front of 1st insert (rest of Saturday):

Back of 1st insert(Sunday):

Front of 2nd insert(Monday):

Back of 2nd insert(Tuesday):

Full right page (rest of Tuesday):

But wait, theres one more important step...
Step 5- DON’T FORGET THE TABS!
To help the inserts stand out, or to identify each day/event, I always attach a tab to each insert. I often number or label them, again, to help identify one day from the next. Especially for a beach vacation, when all the photos seem to look like 1 REALLY long day. Here’s how they look in this album….

Here's a snippet of some other tabbed inserts for a vacation the previous year:

And the year before that:

I don't ALWAYS label the tabs if I think the journalling cards are clear to identify each day from the next, but I do always add the tabs themselves. I just like how they pop off the base page below. Here's one last snippet, of a couple Disney trips with un-labled tabs.

And that’s pretty much it! I’ve used this method to document our vacations in Project Life for the last 4 or 5 years now, and it seems to work pretty well for me. I use a similar approach for any larger event, such as a few days of Christmas celebrations, or a large birthday party.
I'd love to hear how you include big events in your Project Life!

I love the details you've provided. For a vacation it can be such a challenge to include, this breakdown makes it feel doable!
ReplyDeletetabbed layouts! what an awesome idea....thanks :)
ReplyDelete