Today's layout actually documents three (yes, that's right, THREE) weeks from last November. Almost the entire month. I apparently didn't take many photos during that time frame, and none of those individual weeks warranted a stand-alone layout, so... I just combined them into a single layout. And I'm OK with that.
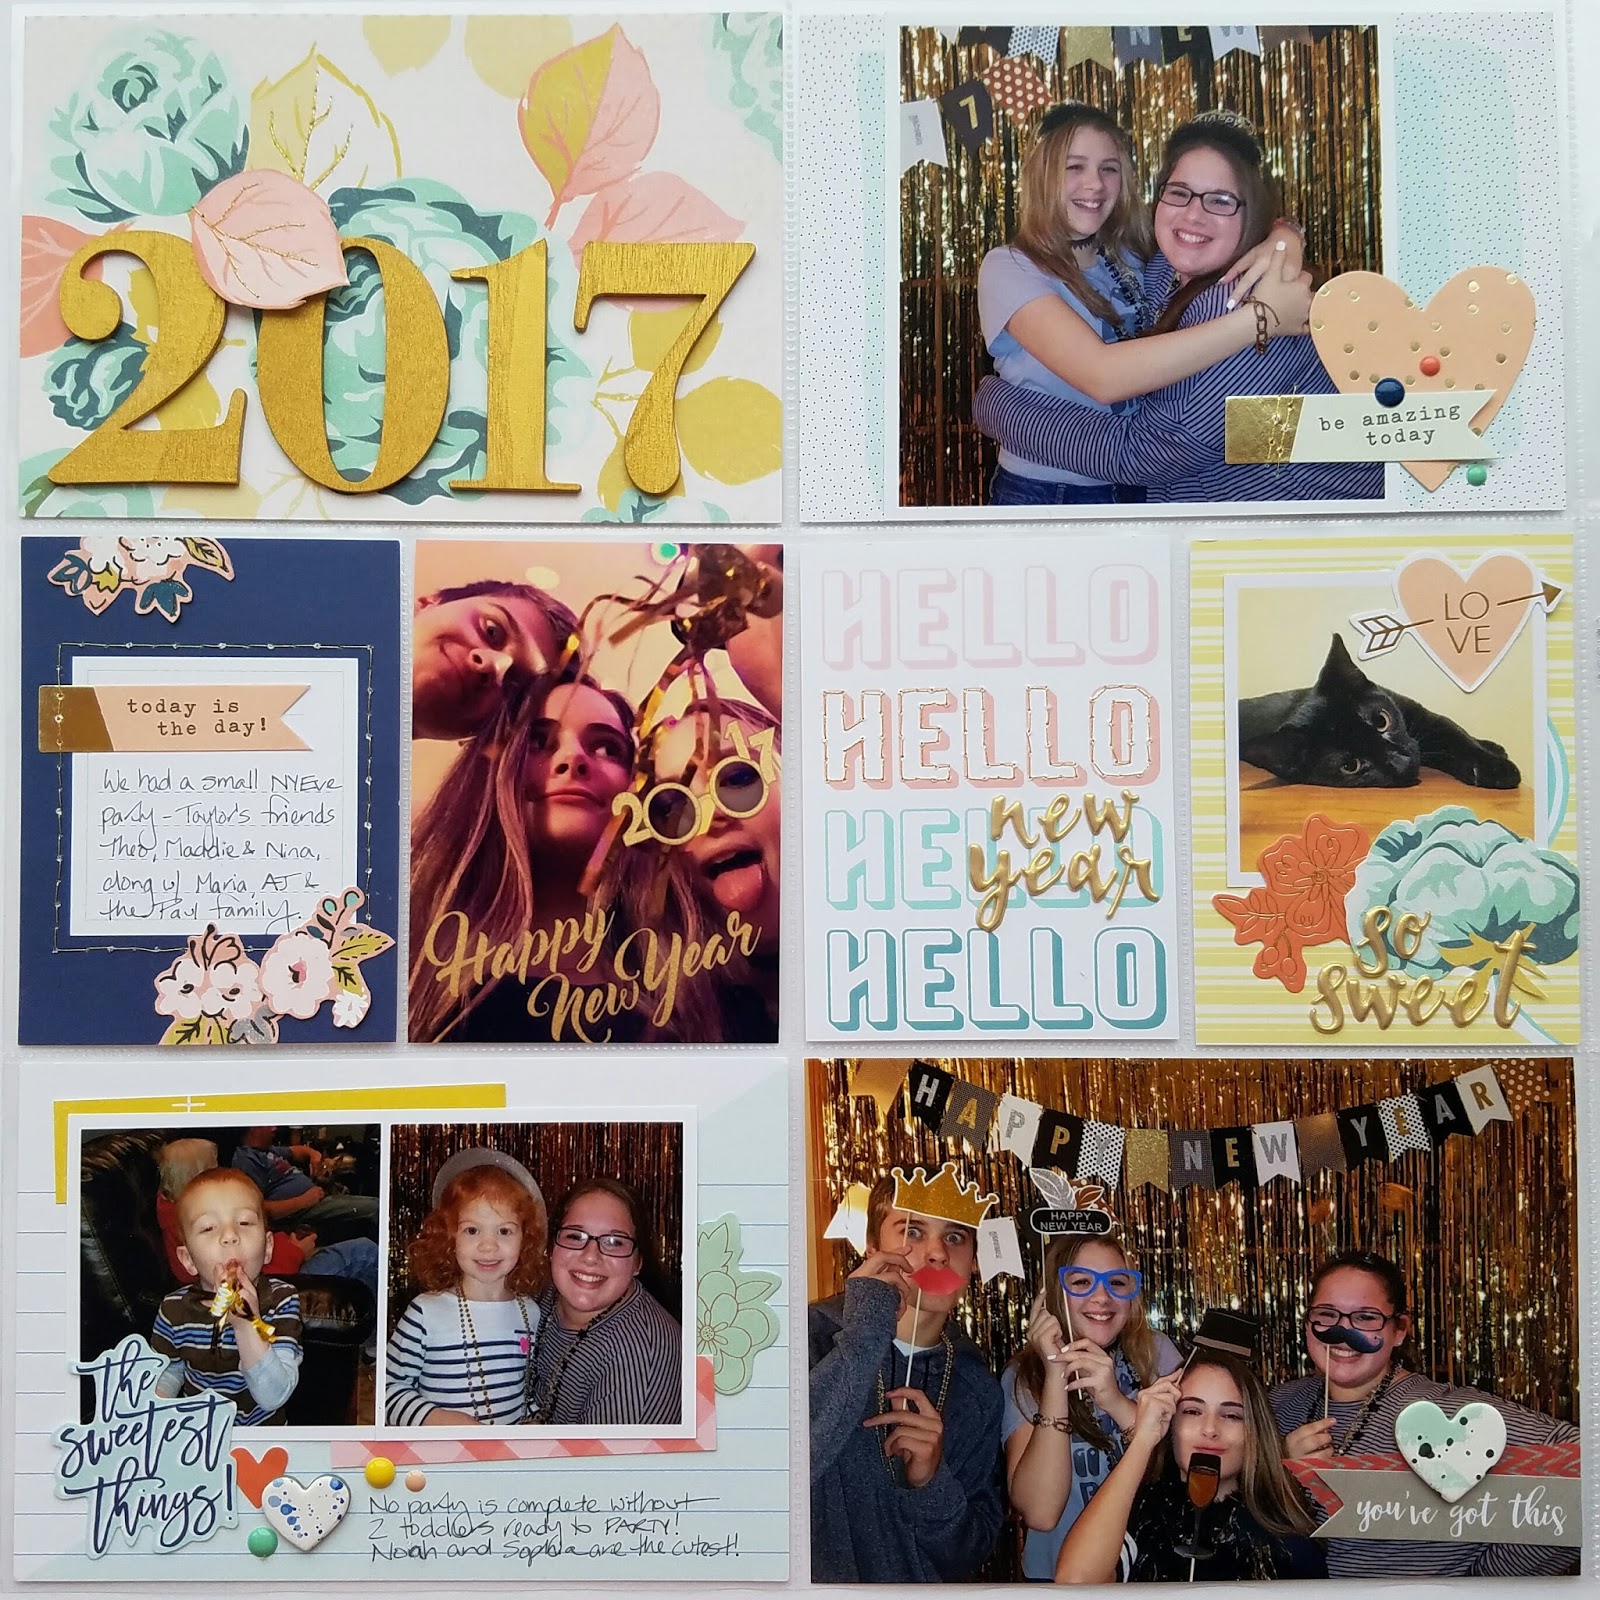
Here is the overall layout...

Aside from the photos themselves, this layout turned out lighter than is normally my style. The kit included papers from the Maggie Holmes "Gather" collection, which is pretty colorful, but I was drawn to several of the exclusive cards in the kit, and so my color scheme developed from those, and focused on the lighter peach, pink and aqua, with lots of white.
Here's the full left side..


The title card this week uses one of the 4x6 exclusive cards from the kit as a base, along with the kraft die-cut that says "here." Using the Pink Paislee leatherette stickers, I added the rest of my title and stitched them in-place with gold thread. There's also a bit of gold ink splatter on the card as well. Super simple.

The card above was a 3x4 from the kit, to which I added some tiny letters from my stash (these are from an old Studio Calico kit) so that it reads "hello flat tire." Urgh. Not the best day! Below the photo I added a puffy sticker from Pink Paislee and some Maggie Holmes gold foil word stickers, both of which were provided in the kit. And of course, more gold ink splatter and stitching.
Below, I made (yet another!) pocket to hold ticket stubs. I just layered a bit of patterned paper on a 3x4 card and added some stitching down each side to hold it in place. I used a few of the gold word stickers to accent the linear pattern and that's it. Super simple!


Above, I accented a full 4x6 photo with a puffy sticker and some of the leatherette letter stickers.
Here is the full right side of the layout...

Again, just a bit of detailing on a 4x6 photo...

If you subscribe to the Citrus Twist pocket life kit, you may recognize the background of this next card. I cut a 3x4 piece from the drawstring bag the kits come in and stitched it to piece of cardstock for stability. The "gather" sentiment was already provided on the bag, and it was perfect for a floral arrangement I received as a hostess gift on Thanksgiving. A few gold word stickers and an exclusive cork piece was all it needed to complete the card.


Above, I used one of the 3x4 journalling cards from the kit as my base. It had a journalling prompt that was about exercise I think? It wasn't one that applied to this particular layout, but I liked the color, so I used it and covered the printed text with a gold word sticker. To the bullets below, I used the stamp set from the kit to add the "working, playing and loving" words. Alongside, I added a cluster of puffy hearts from the Pink Paislee set, and a bit of gold ink splatter.
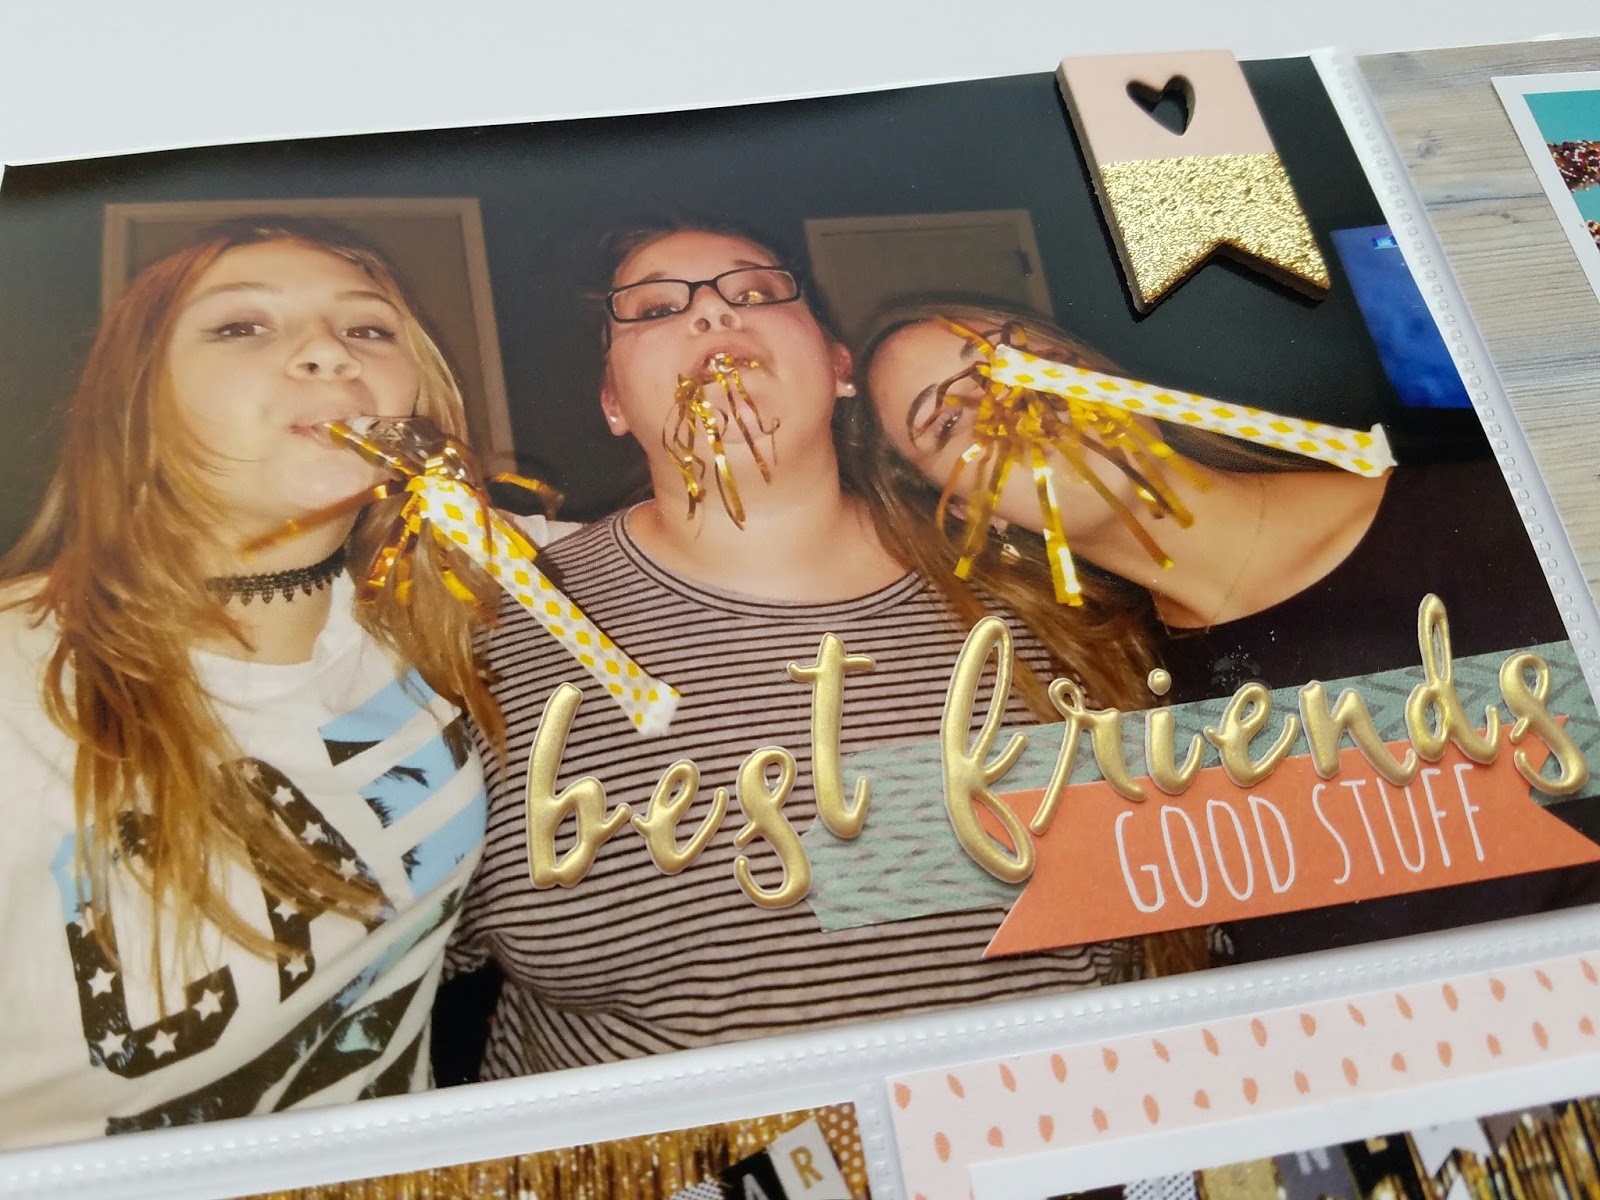
The final card from this layout uses my favorite card from the kit. I just love the colors and the sentiment on this one!!! I paired it with a 3x4 photo of my daughter and her friend (I have no shortage of these Snapchat selfies, it truly is every day life around here!). To the card I added some ink splatter, a cork piece, and a die-cut leaf that was provided in the kit, which I stitched on with more gold thread. Finally, I added the "right now" sentiment using the stamp set from the kit.

And that's it for this layout. Thanks for stopping by!