
Throughout the layout I combined products from the Crate Paper "Oasis" collection, as well as some printed digital cards from the Project Mouse "Beginnings" collection which you can find here.
Here's the left page...


The "Florida" above was stamped with the Crate Paper Oasis alpha stamps. I'm so glad I picked those up, they are a great font and size for Project Life! The "vacation" gold puffy word is also from the Oasis collection. I used so many of these words throughout the layout!

The "fly" tag above was cut out of the vellum sheet from the Oasis collection. Gold foil on vellum? Yes please!!! I stitched it in place with some gold thread, and just added a simple cluster of enamel dots and a tiny chipboard plane.


The "magic" card above is from the Project Mouse set. I printed a handful of these cards on photo paper so the colors are really crisp, and just added a few stickers for dimension.


And now onto the inserts...

For each insert, I trimmed a 12" page protector down to 8" wide (plus the margin). Down that binding edge, I added a strip of paper from the Oasis collection (this has a cute tropical postage stamps pattern) and folded it over the edge so there was a row of stamps on each side, and then stitched it in place with gold thread. I punched holes to align with my album rings and voila!


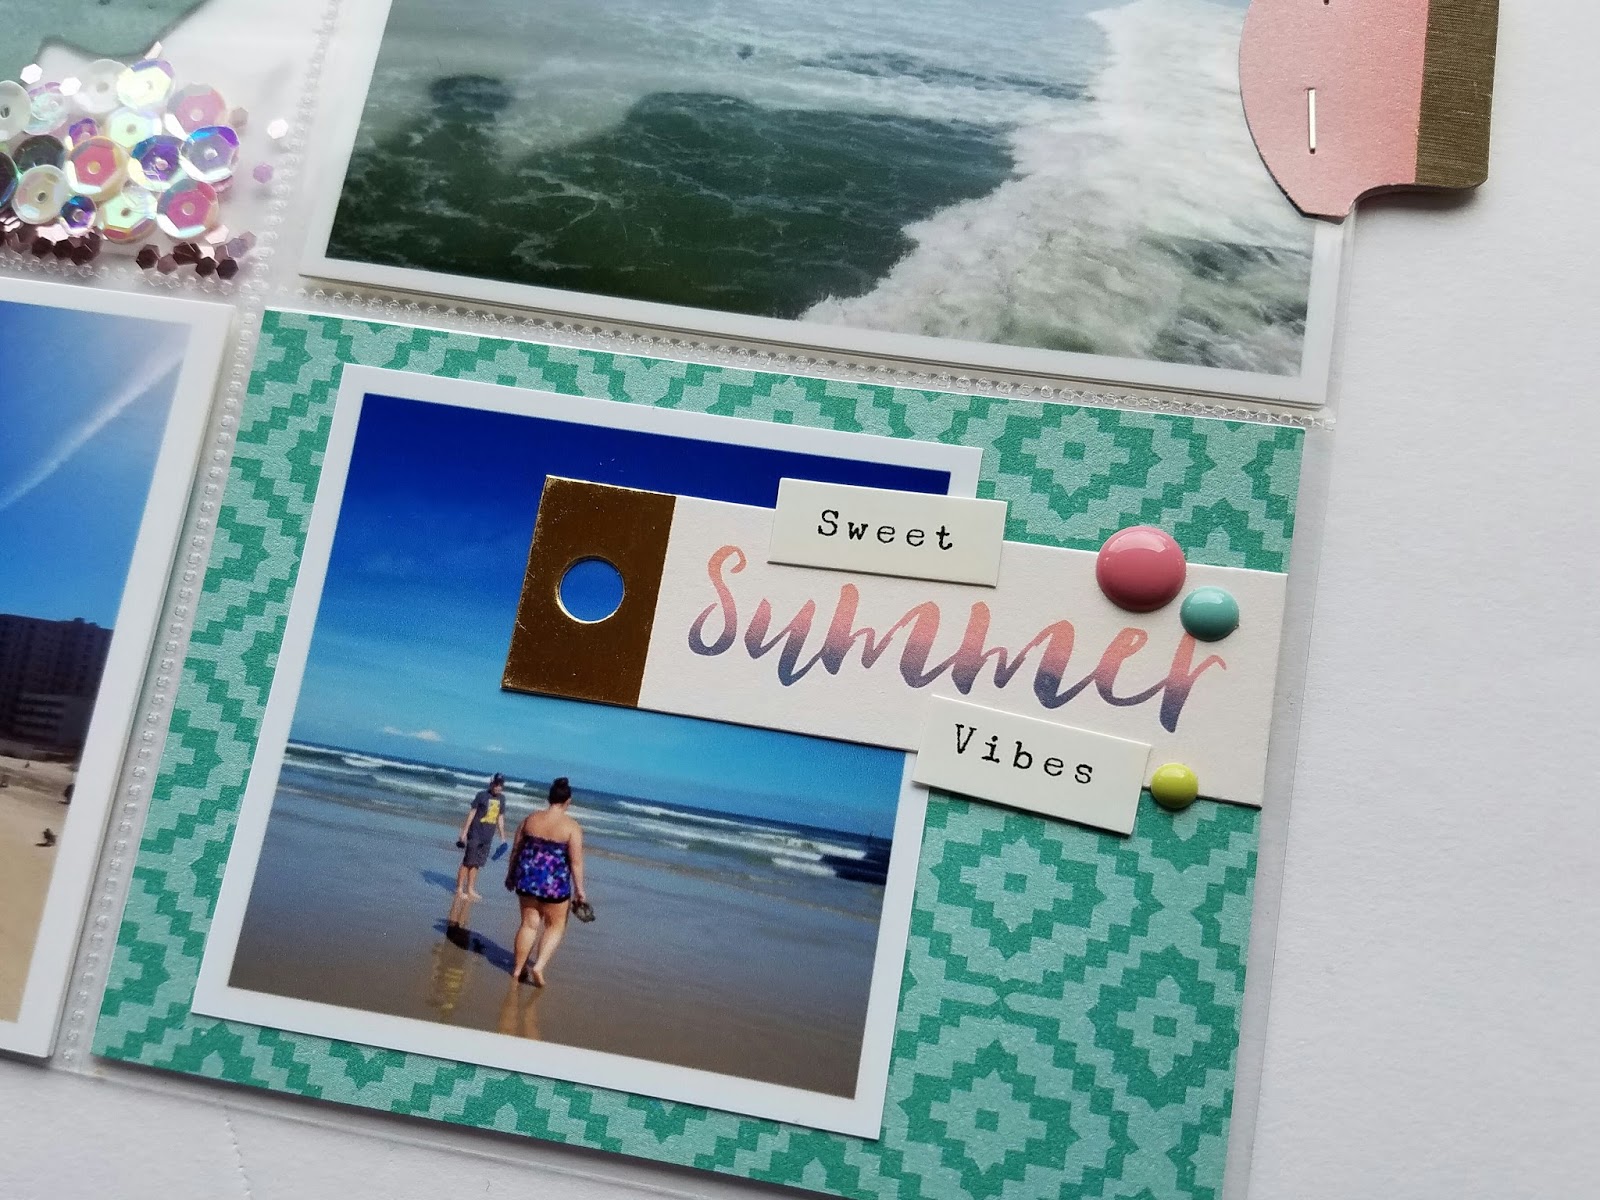
Here is the front of the first insert, which documents more of our time in Daytona Beach...


For a couple of the inserts I added a confetti pocket, because.... well, why not!?!

Using a die set from Kaisercraft, I punched tropical leaves from cardstock and vellum, and added them to one of the pockets, along with some sequins. The white & clear sequins are from Nicole Petersen Designs. The tiny pink glitter is from the dollar spot at Target. To finish it, I sealed the edge with my Fuse tool. Adorable, right!?!
Onto the back side of the 1st insert, which documents our visit to Disney Springs...


On to the front of the 2nd insert. These photos are from our stay at Disney's Animal Kingdom Lodge. We are frequent Disney visitors, but this was our first stay at this resort.

I shifted to a different page protector arrangement for this insert, because I had a few vertical 4x6 photos I wanted to use.


Above, you can see a close up of some of the details that I've repeated throughout the layout- a small square photo with a die cut shape, cluster of enamel dots and a bit of gold stitching.
Here's the back of the 2nd insert, documenting a day hopping around Disney parks. We made a short stop at Animal Kingdom and Hollywood Studios, before spending the remainder of day at Magic Kingdom.


I printed a strip of photos of the park icons we visited, and just added some simple washi tape strips, along with more puffy gold words.

I used one of the freebie printable cards from Project Mouse, and just added a few heart stickers and some simple journalling. The watercolor pattern mixed with the Walt & Mickey silhouette is perfection!

The card above turned out to be one of my favorites from this layout. I used a pink journal card from the Project Mouse collection as a base, and just added a cluster of heart and word stickers, a glittery geo tag and a bit of stitching. Super simple, but I love it.
On to the last insert. Here is the front, documenting our visit to Seaworld...


Above, I cut the "sea" tag from the Oasis vellum sheet, and layered it with some gold letters that I handcut from some leftover words to spell out "world" and again, stitched it in place.

Another confetti pocket...


On to the back of the 3rd insert, documenting our visit to the GORGEOUS Hammock Beach Resort...


The pink filler card above is yet another from the Project Mouse collection. I added a wooden & enamel button from the Crate Paper "Little You" collection, which I adhered to the top of my page protector.
We're in the home stretch! Finally, on to the last right-side page...


And.... that's all she wrote folks! Thanks for stopping by!

This is amazing! I love how you do your vacation pages with the "bookends" and inserts! Your pages are gorgeous! Thanks for sharing.
ReplyDeleteThanks Valerie. It's a system that works really well for me!
DeleteBeautiful. Love the colors.
ReplyDeleteLove, love, love the colours!
ReplyDeleteSo pretty and colorful. Love your pages!
ReplyDeleteGorgeous layouts!
ReplyDelete